
Cooke & Lewis Induction Hob Instructions: A Comprehensive Guide (Updated 04/07/2026)
Today’s date is 04/07/2026 at 16:32:59. This guide provides detailed instructions for your Cooke & Lewis induction hob, ensuring safe and efficient operation for optimal cooking results.
Welcome to the world of efficient and modern cooking with your new Cooke & Lewis induction hob! Induction hobs represent a significant advancement in cooking technology, offering precise temperature control, rapid heating, and enhanced safety features compared to traditional cooktops. This guide is specifically designed to help you understand and utilize all the capabilities of your appliance, ensuring a seamless and enjoyable cooking experience.
Cooke & Lewis is committed to providing high-quality, reliable kitchen appliances. Our induction hobs are engineered for durability and performance, incorporating innovative features to simplify your culinary tasks. Before you begin, please take the time to carefully read through this manual. Familiarizing yourself with the hob’s functions and safety precautions will maximize its lifespan and prevent potential issues. Remember today’s date is 04/07/2026, and this guide is current as of that date.
This comprehensive guide will cover everything from initial setup and basic operation to advanced features and troubleshooting.

Safety Precautions & Warnings
Your safety is paramount when operating your Cooke & Lewis induction hob. Please read these precautions carefully before first use to prevent potential hazards. Never operate the hob with a damaged cord or plug; immediately discontinue use and contact a qualified technician. Ensure the hob is properly installed and grounded according to local electrical codes. Keep flammable materials away from the cooking zones.
Important: The hob surface becomes hot during and after use. Allow it to cool completely before cleaning. Individuals with pacemakers or other implanted medical devices should consult their physician before using an induction hob, as the electromagnetic field may cause interference. Supervise children closely when the hob is in operation. Today is 04/07/2026; these warnings are current as of this date.
Do not attempt to repair the hob yourself. Contact authorized service personnel for any repairs or maintenance. Always disconnect the hob from the power supply before cleaning or performing any maintenance.
General Safety Guidelines
Prioritize safety during every cooking session with your Cooke & Lewis induction hob. Always use cookware with a flat, ferromagnetic base suitable for induction heating. Avoid using adapters or extension cords. Ensure adequate ventilation around the hob during operation. Never leave the hob unattended while in use, especially when frying.
Crucially, do not place metallic objects, such as cutlery or lids, on the hob surface while it’s operating, as they can become hot. Be cautious when cooking with liquids, as they can boil over quickly. Regularly inspect the hob surface for any damage. Today, 04/07/2026, these guidelines are essential for safe operation.
Keep the hob clean to prevent buildup and ensure efficient performance. Do not use abrasive cleaners or scouring pads, as they can damage the surface. Always allow the hob to cool before cleaning.
Electrical Safety – Important Considerations
Ensuring electrical safety is paramount when using your Cooke & Lewis induction hob. Installation must be performed by a qualified electrician, adhering to all local regulations. The hob must be properly grounded to prevent electric shock. Verify the voltage rating of the hob matches your household supply – incorrect voltage can cause damage or fire.
Never attempt to repair the hob yourself; contact a qualified service technician for any repairs. Regularly check the power cord for damage and replace it if necessary. Avoid operating the hob in damp or wet conditions. Today, 04/07/2026, these precautions are vital.
Do not pull the power cord to disconnect the hob; always use the plug. Ensure the power cord does not come into contact with hot surfaces. Disconnect the hob from the power supply before cleaning or performing any maintenance.

Understanding Induction Hob Technology
Induction hob technology offers a revolutionary cooking experience. Unlike traditional hobs, induction heating directly heats the cookware, not the hob surface itself. This is achieved through an electromagnetic field generated beneath the ceramic glass. Only cookware made of ferrous metals – like cast iron or stainless steel with a magnetic base – will work on an induction hob.
This direct heating method results in faster heating times and greater energy efficiency. Because the hob surface remains relatively cool, it’s safer to touch and easier to clean. Today, 04/07/2026, understanding this technology enhances your cooking. The hob detects the presence of suitable cookware automatically, activating the heating element only when needed.

This precise control allows for accurate temperature regulation, improving cooking results. It’s a modern, safe, and efficient way to cook.
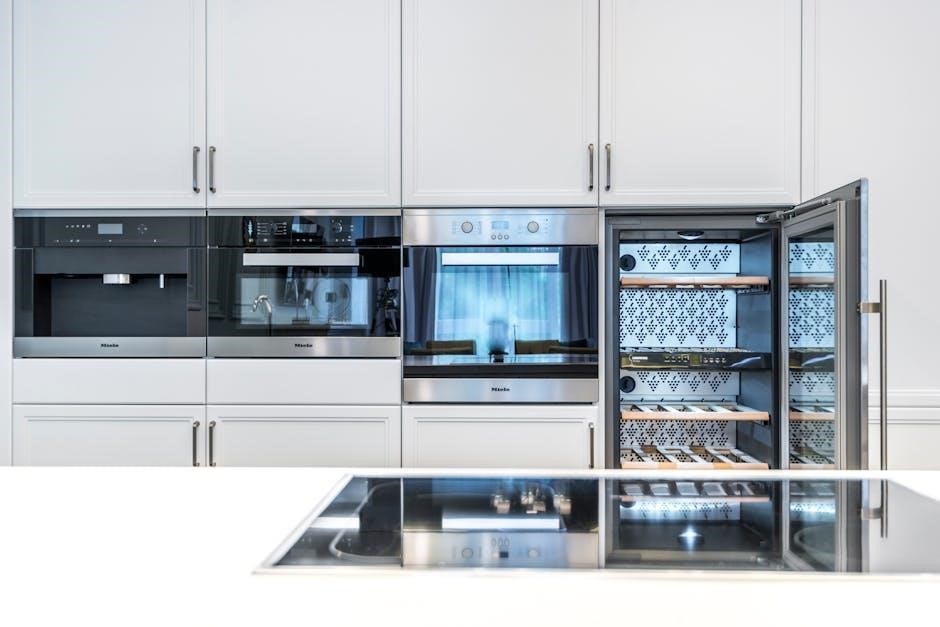
Component Identification – Hob Layout & Features
Your Cooke & Lewis induction hob is designed for intuitive use. The hob surface features clearly defined cooking zones, indicated by circular markings. These zones vary in size to accommodate different cookware. The control panel, located at the front, houses the touch-sensitive buttons for operation. Today, 04/07/2026, familiarizing yourself with these components is key.
Key features include power level indicators, which display the selected heat setting for each zone. A digital display shows timer settings and other relevant information. Safety features, such as a child lock, are also accessible through the control panel. The hob’s sleek ceramic glass surface is durable and easy to clean.
Understanding the layout ensures efficient and safe cooking. Refer to the diagrams for precise component locations.
Control Panel Overview
The Cooke & Lewis induction hob’s control panel utilizes touch-sensitive technology for precise and responsive operation. Today, 04/07/2026, it features dedicated buttons for power on/off, zone selection, and power level adjustment. Individual zone indicators illuminate when a zone is active. A ‘+’ and ‘-’ button allows incremental power adjustments, ranging from low to maximum heat.
Additional buttons include those for activating the booster function – for rapid heating – and setting the timer. A lock/child safety function button prevents accidental operation. The digital display clearly shows selected settings, timer duration, and any error messages. The panel’s intuitive design ensures ease of use for all cooking levels.
Familiarize yourself with each button’s function for optimal control and a safe cooking experience.
Zone Indicators & Power Levels
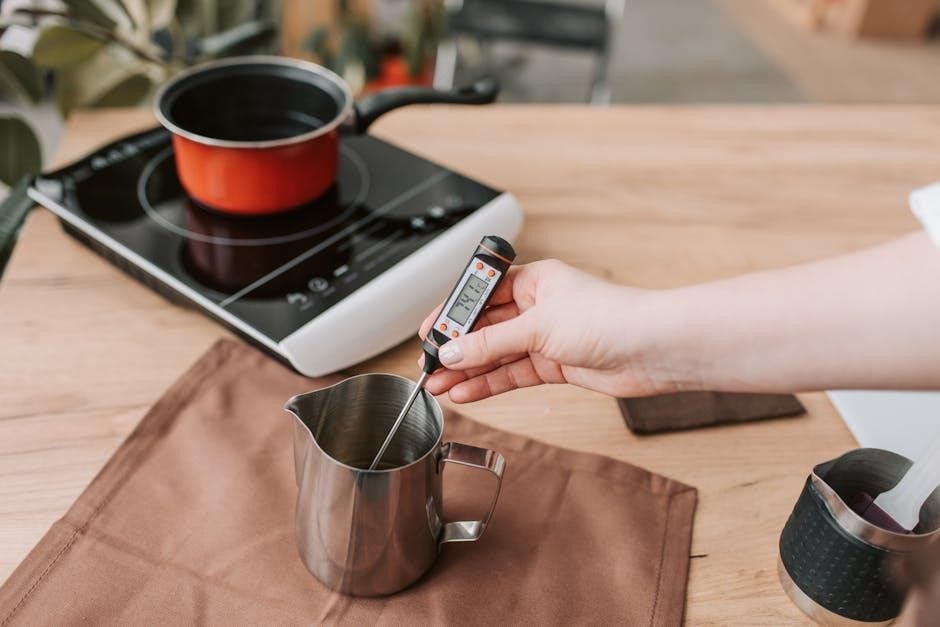
Each cooking zone on your Cooke & Lewis induction hob is equipped with a clear indicator light, illuminating when a zone is active. These indicators provide immediate visual confirmation of heating status. Power levels are adjustable, typically ranging from 1 to 9, with 1 being the lowest setting for gentle simmering and 9 representing maximum heat for rapid boiling.
Today, 04/07/2026, the hob’s power levels are designed to accommodate various cooking needs. Lower levels are ideal for delicate sauces and maintaining warmth, while higher levels are perfect for searing and stir-frying. The booster function temporarily overrides these levels, providing an extra burst of power for faster heating.
Understanding these indicators and power levels allows for precise temperature control and efficient cooking.
Initial Setup & Installation
Before first use, ensure your Cooke & Lewis induction hob is correctly installed by a qualified electrician, adhering to all local regulations. Verify the voltage matches your home’s electrical supply – typically 230V. Remove all packaging materials and protective films from the hob surface and control panel.
Today, 04/07/2026, a stable, level surface is crucial for optimal performance. The hob should not be installed near sources of excessive heat or moisture. After electrical connection, perform a test run by activating each zone briefly to confirm functionality. Ensure adequate ventilation around the hob to prevent overheating.
Familiarize yourself with the hob’s dimensions and cutout requirements before commencing installation to avoid any issues. Proper installation guarantees safe and efficient operation.
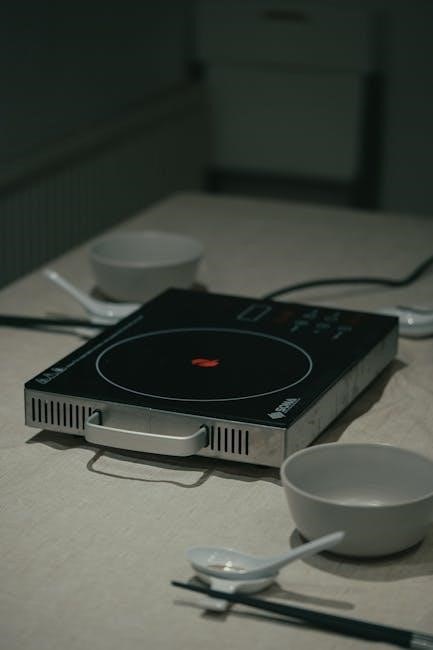
Operating Instructions – Basic Cooking Functions
To begin cooking with your Cooke & Lewis induction hob, ensure it’s powered on. Select the desired cooking zone using the control panel – indicators will illuminate. Adjust the power level using the + and – buttons, ranging from low to high settings, suitable for simmering or rapid boiling. Today, 04/07/2026, remember that induction heats the cookware directly, not the hob surface.
Place compatible cookware (magnetic base) onto the selected zone. The hob will automatically detect the pan and initiate heating. Monitor the cooking process and adjust power levels as needed. For optimal results, use pans with flat, smooth bottoms. Avoid moving cookware unnecessarily during operation.
Once cooking is complete, reduce the power level to zero to stop heating. The zone indicator will turn off, confirming it’s no longer active.
Powering On/Off the Hob
To power on your Cooke & Lewis induction hob, locate the main power button, typically indicated by a power symbol (circle with a line). Press this button firmly; a confirmation light or display message will indicate the hob is active. As of today, 04/07/2026, ensure the hob is properly connected to a grounded electrical outlet before attempting to power it on.
The hob may feature a ‘lock’ function; if activated, unlock it before powering on. Some models have a touch-sensitive control panel – a brief touch is usually sufficient. To power off, simply press the same power button again. The hob will deactivate, and all zone indicators will extinguish.
Always ensure the hob is completely cool before cleaning. Avoid using abrasive cleaners, as they can damage the glass surface. Disconnect from the power source during extended periods of non-use.
Selecting a Cooking Zone
To select a cooking zone on your Cooke & Lewis induction hob, first ensure the hob is powered on. Identify the desired zone – these are typically marked on the hob’s surface. As of today, 04/07/2026, most models utilize touch controls. Gently touch the corresponding zone indicator on the control panel.
A visual confirmation, such as a lit indicator or a number appearing on the display, will confirm your selection. You can then adjust the power level for that specific zone using the “+” and “-” buttons, or by sliding your finger along the power level scale.
Some models allow for ‘bridging’ zones, combining two adjacent zones for larger cookware. Refer to your model’s specific features for details. Always ensure your cookware is induction-compatible for optimal performance.
Advanced Features & Functions
Cooke & Lewis induction hobs offer several advanced features to enhance your cooking experience. As of 04/07/2026, many models include a ‘Booster’ function for rapid heating – ideal for quickly bringing liquids to a boil. This temporarily increases the power output to the selected zone.
The integrated Timer function allows you to set cooking durations for each zone. Simply select the zone, activate the timer, and specify the desired cooking time. The hob will automatically switch off the zone once the timer expires.
Some models also feature a Pause function, temporarily halting all cooking operations, and a Child Lock to prevent accidental activation. Explore your hob’s control panel to discover all available functionalities and customize your cooking process.
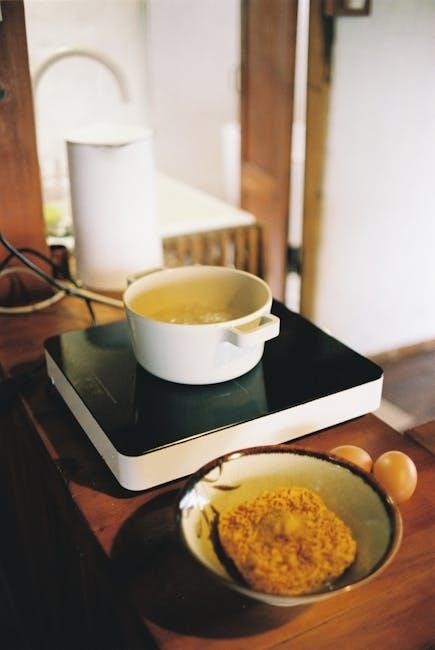
Booster Function – Rapid Heating
The Booster function, available on many Cooke & Lewis induction hobs (updated 04/07/2026), provides a significant and temporary increase in power to a selected cooking zone. This is exceptionally useful when you need to rapidly heat a small amount of liquid, like water for tea, or quickly bring a pan to a boil.
To activate the Booster, select the desired zone and press the corresponding Booster button – often indicated by a flame or ‘P’ symbol. The zone indicator will typically flash to confirm activation. Be aware that using the Booster function consumes more energy.
It’s important to note that the Booster function has a limited duration and will automatically revert to the previously selected power level after a set time. Always monitor your cooking and adjust settings as needed.
Timer Function – Setting Cooking Durations
The Timer function on your Cooke & Lewis induction hob (updated 04/07/2026) allows you to set a specific cooking duration for each zone, ensuring precise control and preventing overcooking. This feature is incredibly convenient for dishes requiring extended simmering or slow cooking times.
To set the timer, first select the cooking zone; Then, use the timer buttons – typically labelled ‘Timer’ or with a clock icon – to adjust the desired cooking time. The display will show the remaining time. Once set, the hob will automatically switch off the zone when the timer reaches zero.
Some models offer a countdown timer that displays the remaining time across all zones, while others have individual zone timers. Remember to check your specific model’s instructions for detailed operation. A signal will sound when the timer completes.
Cleaning & Maintenance
Maintaining your Cooke & Lewis induction hob (updated 04/07/2026) is crucial for optimal performance and longevity. Always ensure the hob is cool and switched off before cleaning. Regular cleaning prevents food buildup and ensures efficient heating.

For daily cleaning, use a soft cloth dampened with warm, soapy water. Avoid abrasive cleaners or scouring pads, as these can damage the glass surface. Stubborn stains can be removed with a specialized ceramic hob cleaner, following the product instructions carefully. Wipe dry with a clean, soft cloth to prevent streaks.
Never immerse the hob in water or any other liquid. Regularly check the ventilation openings to ensure they are free from obstructions. Promptly clean any spills to prevent them from burning onto the surface. Proper care will keep your hob looking and functioning like new.
Troubleshooting Common Issues
Experiencing problems with your Cooke & Lewis induction hob (updated 04/07/2026)? This section addresses common issues. If the hob doesn’t turn on, check the power supply and ensure the circuit breaker hasn’t tripped. If a zone isn’t heating, verify the correct zone is selected and the cookware is induction-compatible.
Error codes displayed on the hob indicate specific problems; consult the full manual for a detailed explanation of each code. If the hob switches off unexpectedly, it may be due to overheating – allow it to cool before restarting. Buzzing sounds are normal during operation, but excessive noise may indicate a problem.
For persistent issues, disconnect the hob and contact a qualified technician. Do not attempt to repair the hob yourself. Always prioritize safety and refer to the complete user manual for detailed guidance and support.
Frequently Asked Questions (FAQs)
Q: What cookware is compatible? A: Only induction-compatible cookware with a magnetic base will work. Q: How do I clean the hob? A: Use a soft cloth and mild detergent; avoid abrasive cleaners (updated 04/07/2026). Q: What do the error codes mean? A: Refer to the full user manual for a comprehensive list and explanations.
Q: Can I use a timer with multiple zones? A: Yes, each zone has an independent timer function. Q: Is it normal for the hob to make a buzzing sound? A: A slight buzzing is normal, but excessive noise requires investigation. Q: How do I activate the booster function? A: Press the booster button on the control panel for rapid heating.
Q: What if the hob isn’t heating? A: Check the power supply, cookware compatibility, and zone selection. For further assistance, consult the complete manual or contact customer support.